Better License Plates
Better License Plates - Retro Edition
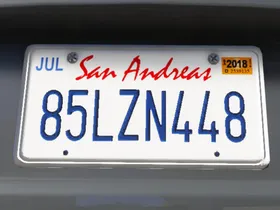
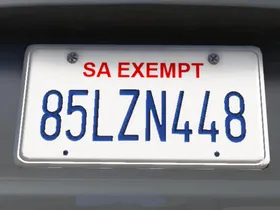
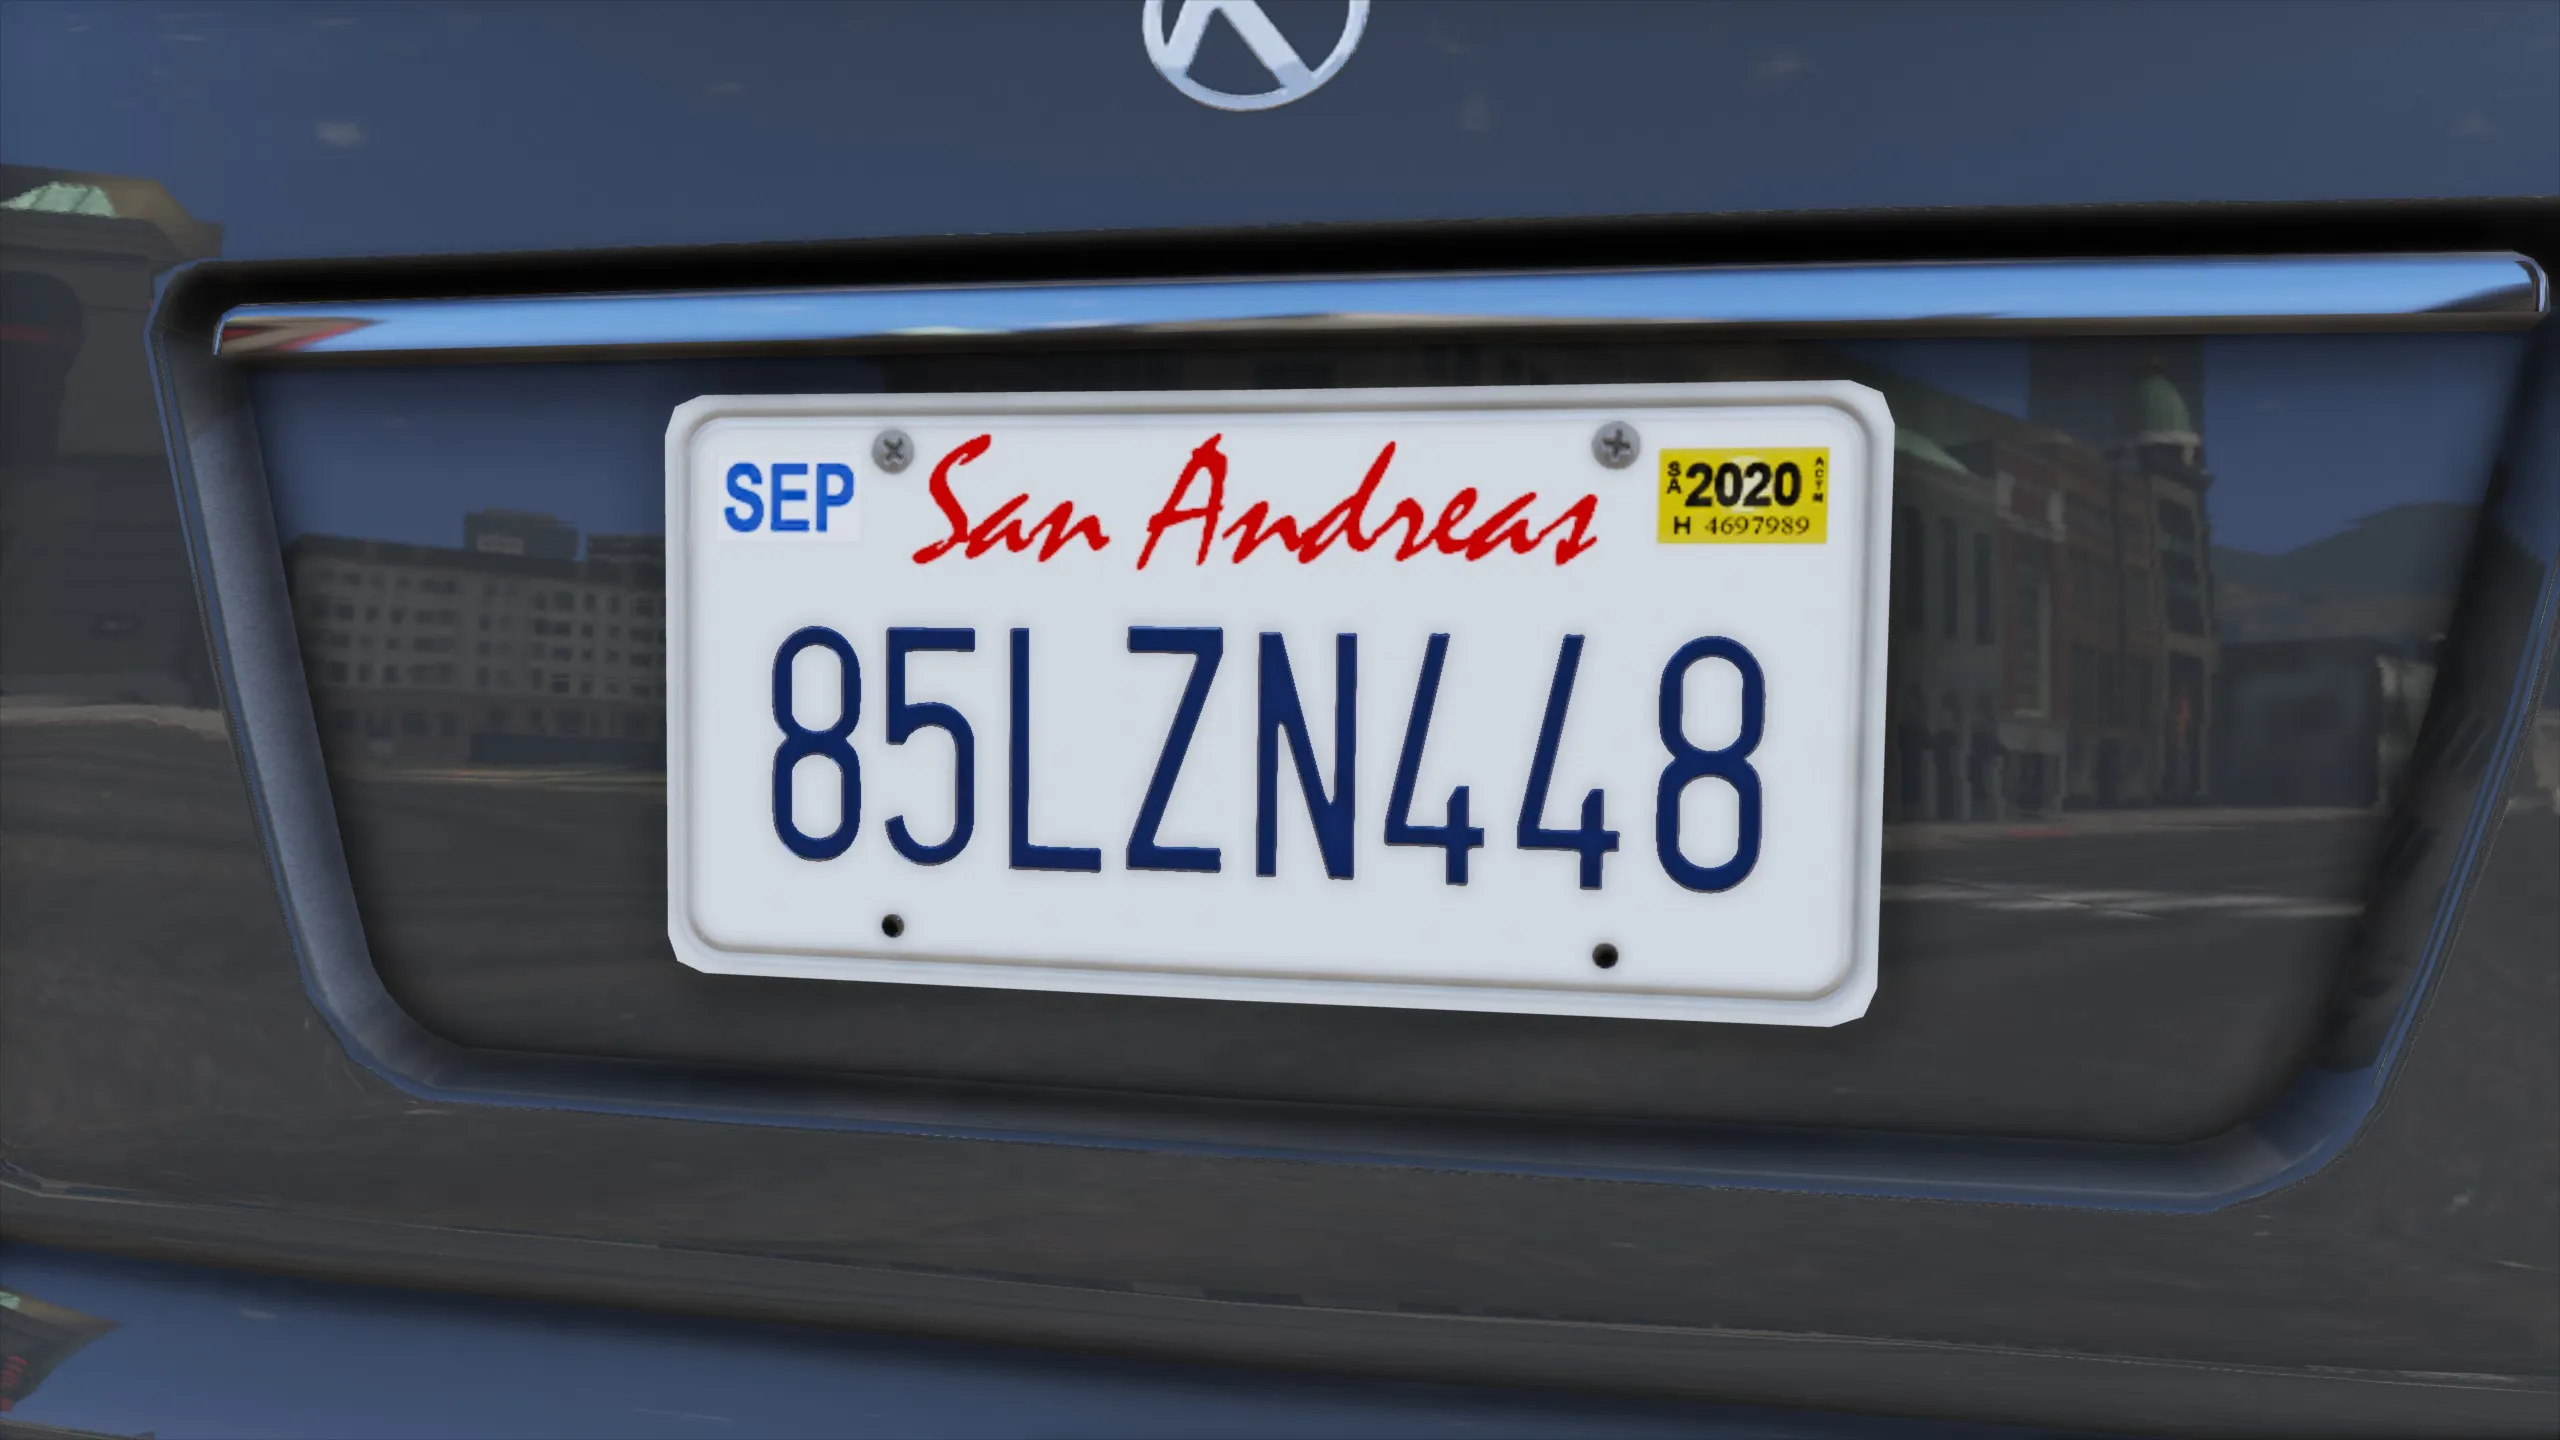
Better License Plates - California
Additional optional textures
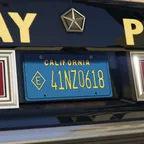
1984 California plates
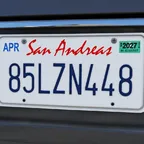
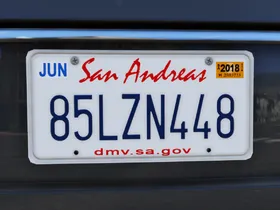 | 2011+ San Andreas plate with dmv.sa.gov text (based on California) Download: BLP - 2011 SA-CA Plate 1.2.zip |
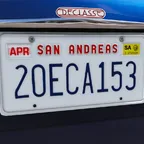
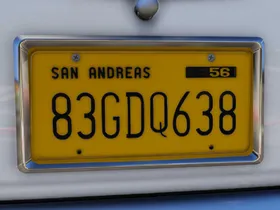 | 1956 San Andreas Plate (based on California) Download: BLP - 1956 SA-CA Plate 1.2.zip Requires carcols.ymt edits for black font |
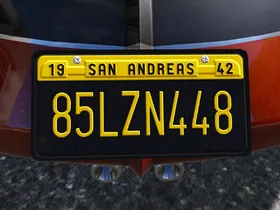 | 1942 San Andreas Plate (based on California) Download: BLP - 1942 SA-CA Plate 1.2.zip Requires carcols.ymt edits for yellow font |
Original post
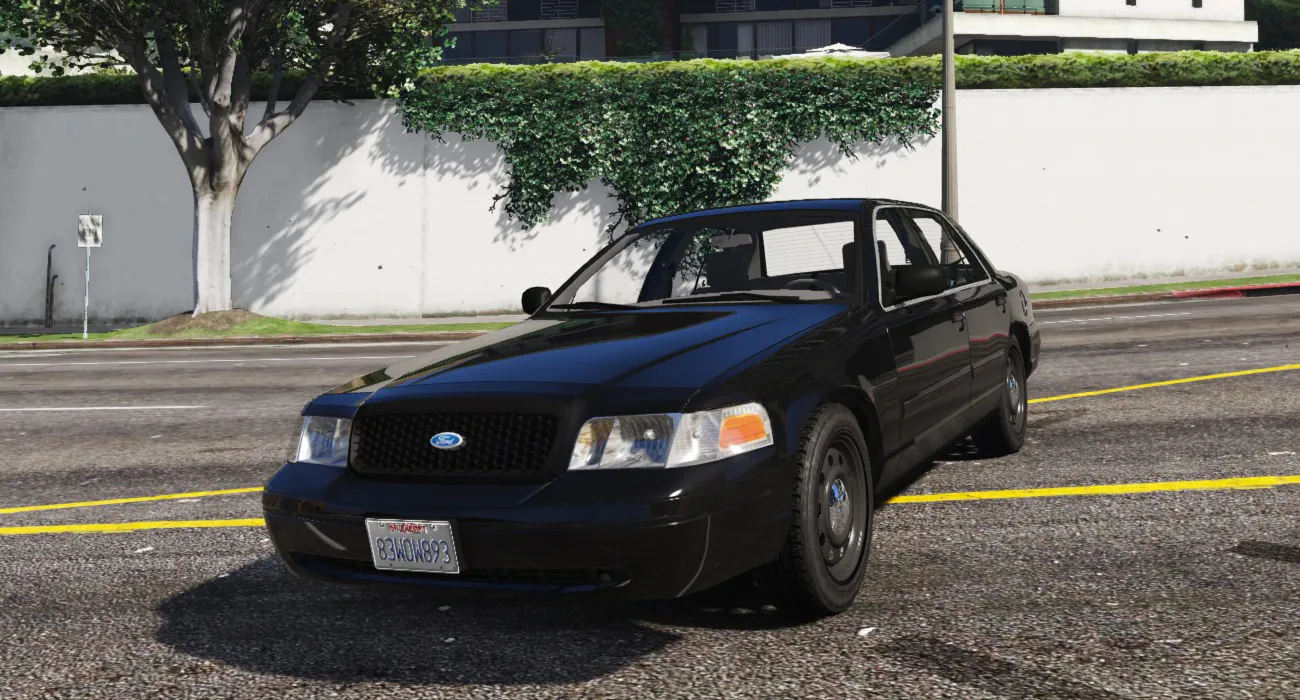
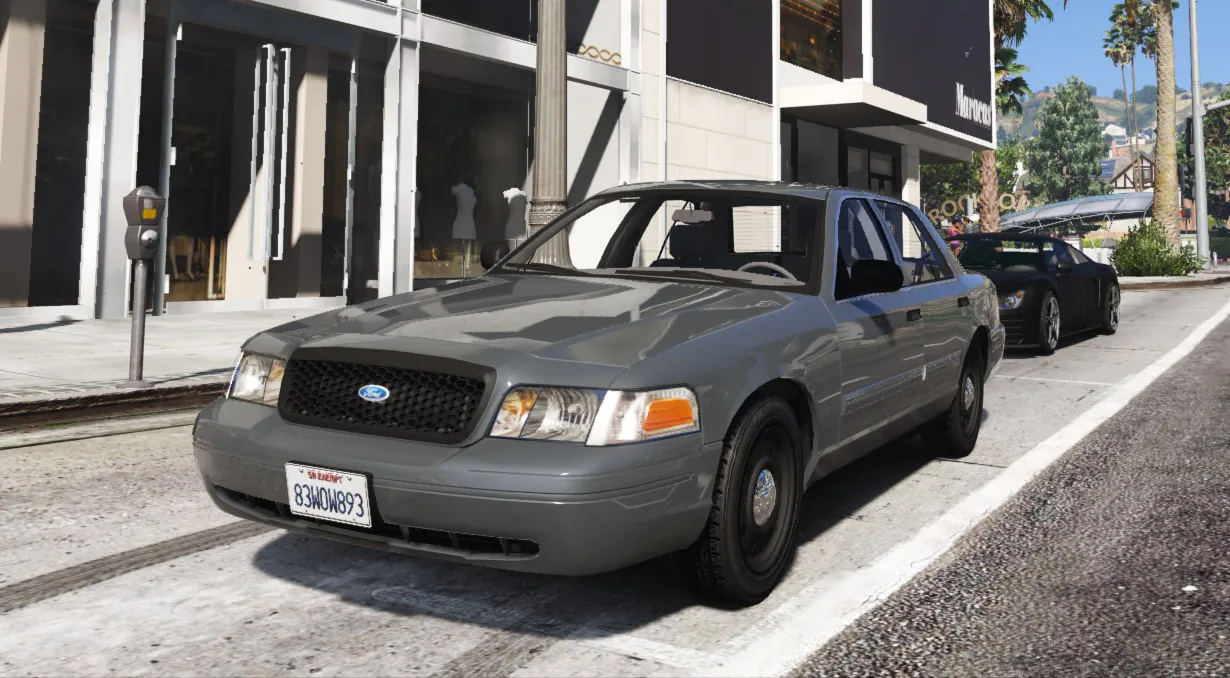
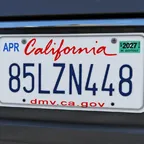
The low quality default license plates have always bothered me and most high quality mods changed the text to California, so I recently started working on my own license plates. They're based more closely on the real California plates and have twice the default resolution. I've also updated the font, unfortunately however it's only possible to add normal maps on the colored letters, while the bump would be on the white metal in real life. It also doesn't seem to be possible to get rid of the aliasing.