This site will remain extremely dead with the stringent requirements for downloads.
To be honest, I doubt that there's any connection between activity and our guidelines. If users wanted to present their mods no matter what, they would've always had the option to post it in the showroom.
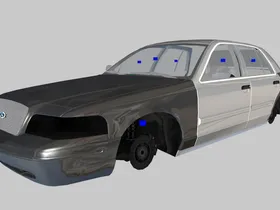
The fact of the matter is that the practicality of a car should be unaffected by minute details such as a single "incorrect" material or LOD error. 99.9% of people simply don't care for such small errors and I think it's just stupid to expect everyone to work on what is practically more strict than even Rockstar Games' own standards for vehicle development.
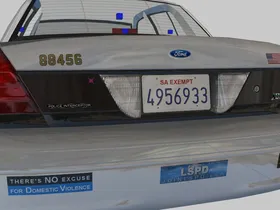
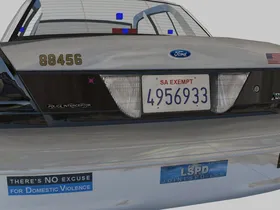
I have to agree with you there, most users indeed don't care about a single small errors, but that's not really describing the actual scale of our reviews. So far, there has been no case where a mod wasn't approved because it had a single incorrect material or LOD flaws. Every rejected mod has either had obvious game-affecting issues that will be noticed when using the car (such as wrong collisions, unbreakable glass, faulty dirtmaps or missing LODs), incorrect credits or missing screenshots (or often multiple of those things). Many of that stuff would be easy to fix, though.
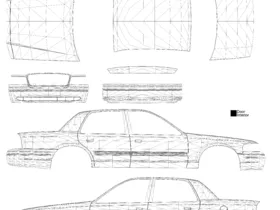
We don't compare cars to their real counterpart, but in the past we've had cases were equipment was obviously out of scale or where specific parts had obviously wrong colors. We do mention this to author, usually however worded as a recommendation, believing that the idea of creating quality work is also in the author's best interest.
I'd like to thank you for your feedback, I'm hoping I was able to clear up some misunderstandings you and others might have had. Our feedback for a mod will distinguish between necessary fixes and optional recommended changes more clearly in the future. I'll also try to modify our guidelines to give more specific information as to what's considered a bug or a minor inaccuracy.
We in Accurate Studio want to put quality over quantity, and we don't want to use these guidelines to prevent users from uploading their mods, but to help them improve them. I'm not sure whether some modders don't like receiving a list of flaws or whether they prefer not to continue working on a mod they considered finished. Once more, we always encourage people to post their mods in our showrooms to get feedback, or if you prefer to keep your pre-release versions private, feel free to contact me personally, as long as I have the time I'll be happy to take a look at any mod.
And of course, I'd be happy to get more feedback on the matter of these guidelines.