

Update 1
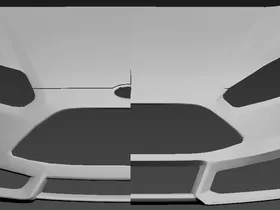
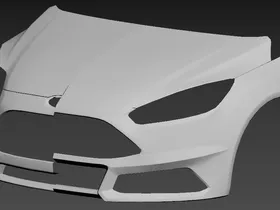
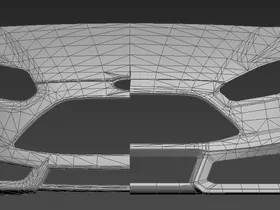
Progress so far on the front end, below are attached pictures with the facelift on the right side in the images. I still need to make alterations to the bonnet and some smoothing out of the bumper.
Update 1
Progress so far on the front end, below are attached pictures with the facelift on the right side in the images. I still need to make alterations to the bonnet and some smoothing out of the bumper.
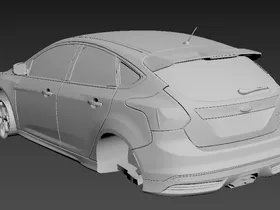
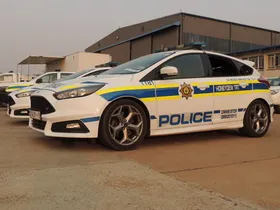
Onto the next local police vehicle project it is, and with this next one I plan to create the Golf GTI's rival - the Ford Focus ST as also used by the Flying Squad.
Initially I started off with the Forza model but as time went on I felt I needed a better body and instead opted for the NFS MW. Its notable that the NFS base has a low poly interior that I plan to use for the L1 and for the L0 I plan to mate the NFS model to the Forza interior, a long and tedious process that I have ahead of myself but one that I'll nonetheless succeed with.
The biggest issue by far is the year, the model I've obtained is the 2013 whereas in reality the vehicles used are the 2015 facelift models so my first priority will be to facelift the model to the newer year.
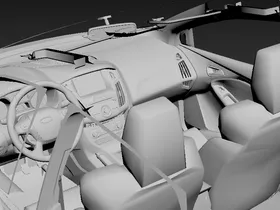
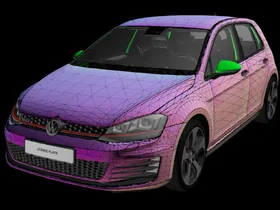
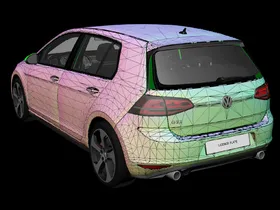
Below are some screenshots of the model as things stand currently: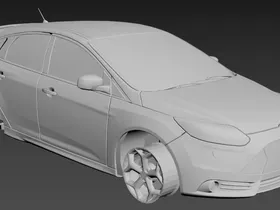
L1 vs. L0 interiors: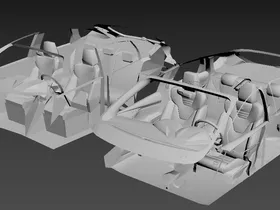
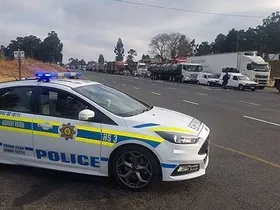
End goal SAPS vehicle samples:
I will be posting updates as I progress.
Its been 4 years since I started this project for V and an update concerning the development is well overdue.
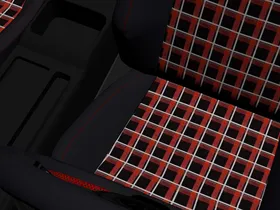
Whilst the Golf I initially ported from IV was my entirely scratch made model, I since obtained the CSR Racing 2 model and decided to use it as the base instead as it came with an interior. On the exterior, the extent of the updates to the model itself was mainly the modeling of the front grille area and headlights. From there onward I decided to take a different approach to my usual ways and instead rely on scratch making textures after my experience with the Liberty II development. Textures heavily dependent on normal maps were the way to go.
The only downside to the CSR Racing 2 model was the lack of decent interior textures, they were in fact terrible and forced me to go on a 6+ month long intermittent process of remaking and remapping the entire interior to my standard. Below are screenshots of this process.

Initial post will be updated with release info.
Greetz fellow sir

Wow.... Not quite LSPDFR is it?
I'm actually quite happy to say no, its not.
Its a start, though I'm not sure what level of detail you want to achieve.
I'm also not sure of your end goal in terms of textures, but I do think that going towards something like in the picture below would look better. You can make the texture use a badges shader to achieve the transparency for the holes and the steel look.
What are your PC's specs? I think it might be a hardware configuration issue, go to settings>rendering and try playing around with those settings there. Should look something like below.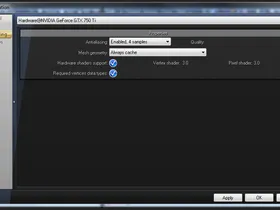
Loving the attention to detail.
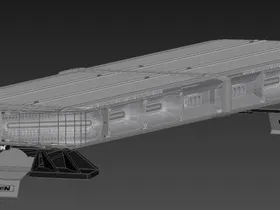
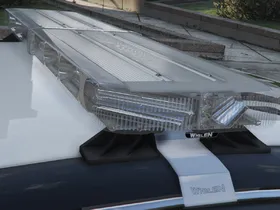
I like the fact that you set out on your own to make it and it looks rather good, that was until I saw the internals. Did you model the entire lightbar from scratch?
The model and wireframe itself isn't bad, though texturing of the modules leaves a lot to be desired. As far as the internals are concerned, I'm sure almost anyone will notice that you've used 2 motherboard models and a hard drive as substitutes and I really don't know what to say to you in that regard, but I will make a suggestion. If you're uncertain of the circuit boards within, opt for adding a cover over the top as seen below. 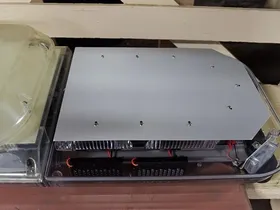
Doing this will save you rather quite a lot of polys, but if you really want internals to be visible, I'd rather suggest you go out and find a reasonable picture of the insides and then make textures based on that rather than modeling it all out.
What's the status of this project? Ditched or still ongoing?
Could say its set aside for now.
Absolutely beautiful model and materials so far, I can't wait to see the final result.
Absolutely lovely work.
Still waiting to see headline " VW Golf Mk7" , btw nice job
The Liberty II was made primarily for the Mk7. I'll get to posting a thread as soon as the exterior is presentable, but the interior is finished so far.
Of course you would model the circuit boards behind the modules.
Looks awesome
Of course, and well, as someone in the electrical trade how could I neglect such detail? ![]()
As a few of my upcoming projects required the Liberty II, I decided to go flat out at making one. This time though, taking it a further step by trying to create the lowest possibly poly lightbar I could whilst maintaining epic detail. I went somewhat of a different route this time in making it and it was more of an R&D project since it relies heavily on normals maps to achieve the realistic effect it has, but I do firmly believe that the detail and realistic look is the first of its kind so far with lightbars.
In the end, I achieved an ~8.7k poly count for the lightbar(excluding ELS extras) and makes use of 2048x2048 textures. I also took a different approach to the making of the textures in scratch making rather than baking them, a lot more time consuming but well worth the effort in the end as you'll see. 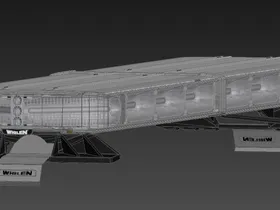
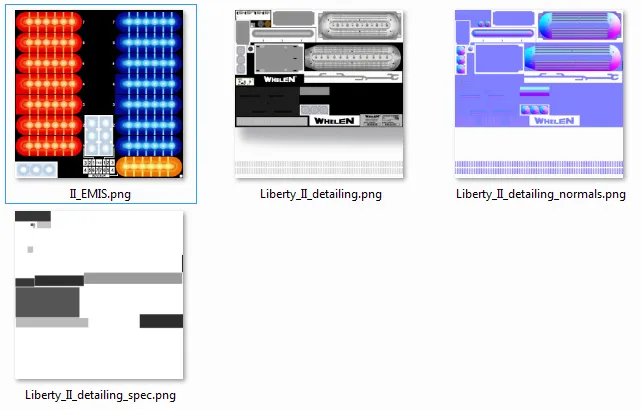
Below are some ingame pictures taken with completely vanilla graphics.
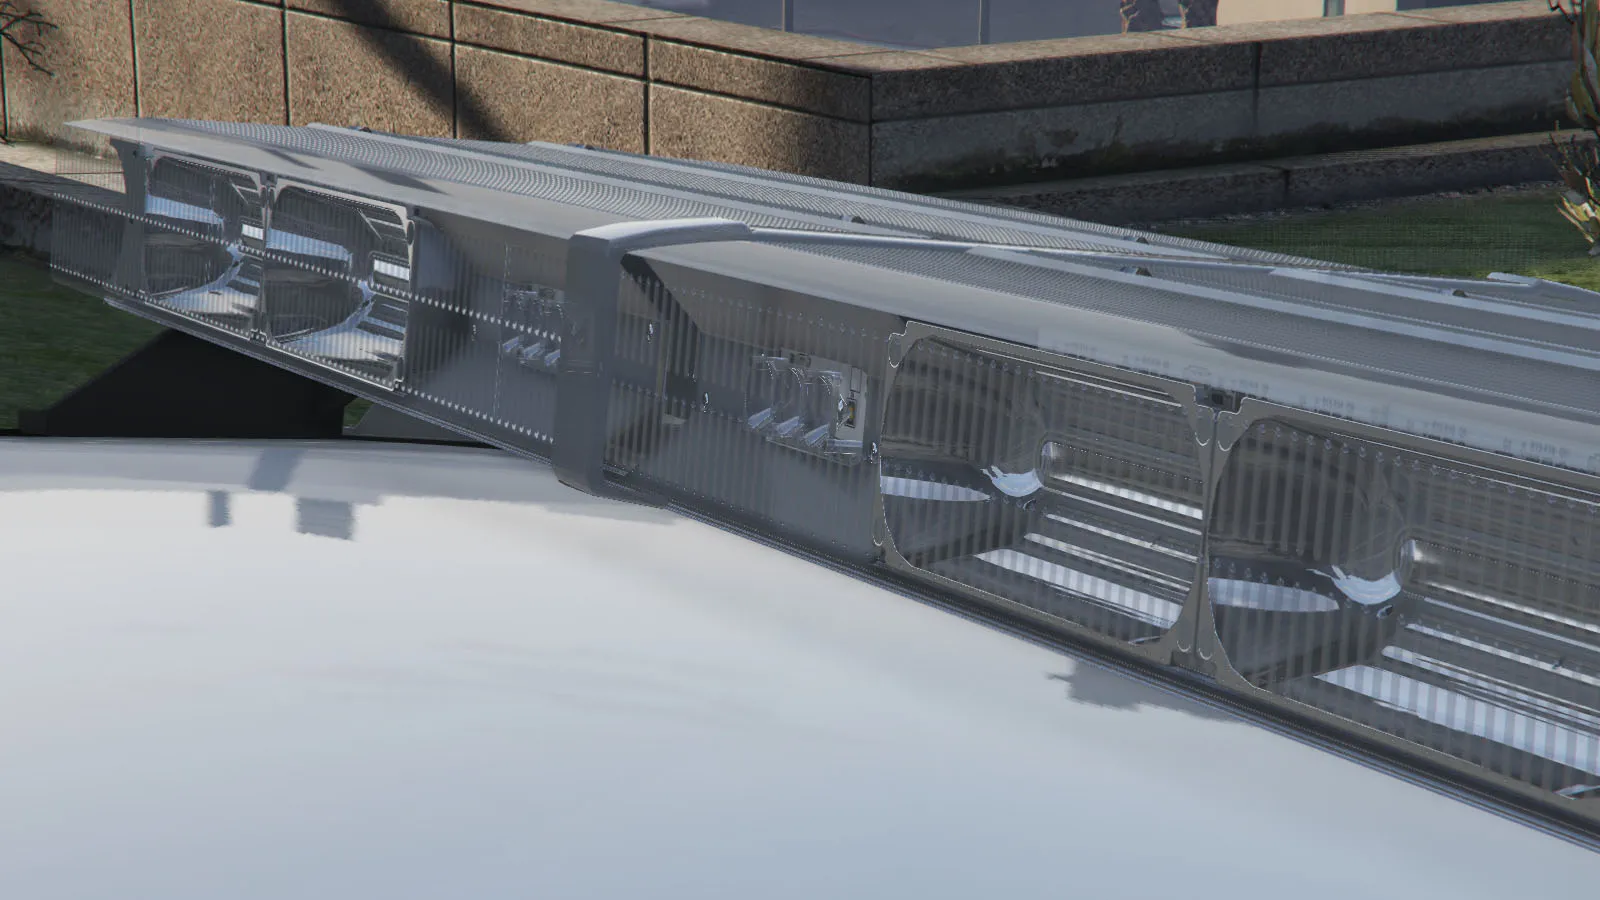
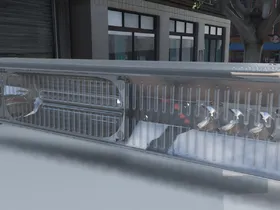

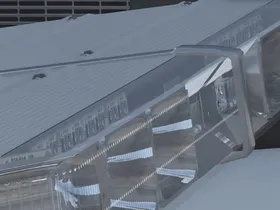
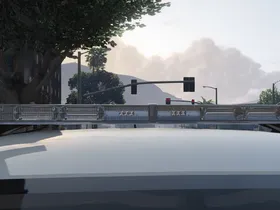
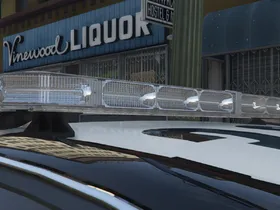
The model still requires some final touches before I can say its complete in terms of texture work, but for now I feel this is worth sharing.
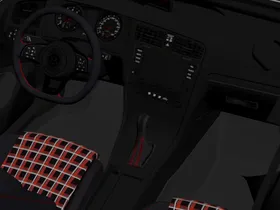
This is not a guide, just a demonstration of the power bump mapping can have on a texture. For my Golf Mk7 GTI project, I've been forced to restart using a better base model and interior, the downside being that the interior had awfully low quality textures and would look poor in GTA V. As a result, I've set out to scratch make textures for the dashboard and decided for once to have a go at making my own bump maps without the use of an external tool.
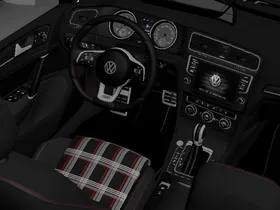
Many don't believe in bump mapping and I wish to show why it shouldn't be neglected. Below are some screenshots of the effect it had, rather jaw dropping I'd say.
The texture & rough bump map
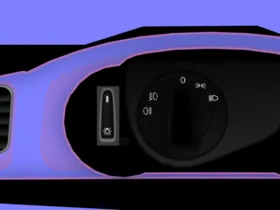
The result, rendered in 3d without the bump map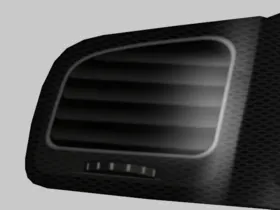
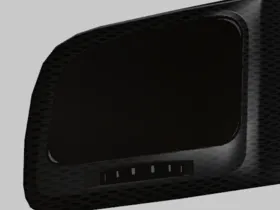
The result, rendered in 3d with the bump map applied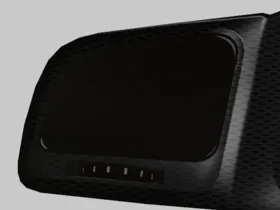
For those curious on the workings, I will post guide will be posted at a later stage one how to create such bump maps so you needn't worry.

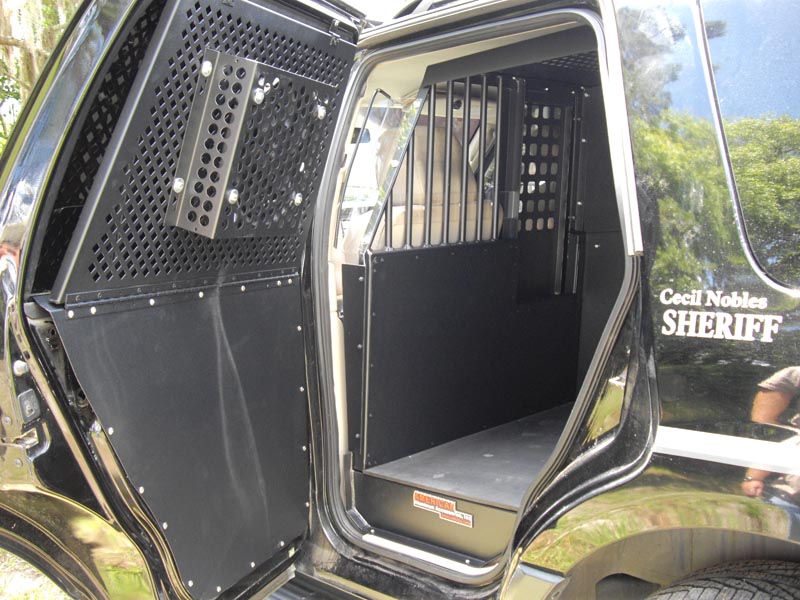
Looks good so far. A few questions:
Yard1 had a riot model a long time ago that stayed private. In this model, 8 peds could be set in the back. I believe he achieved this with the vehiclelayouts.meta from the barracks model.
Would you be interested in doing something like that with this model?
I could look into it, but I make no promises. I prefer keeping the model in terms of the setup, as close to the original as possible. If I did do something like that, it'd be a separate version available after the first release.
Quote from c13Is this going to be based on LASD's Bearcats, with the Whelen liberty?
Yes.
Quote from c13Will there be more variants, such as the Patriot systems mount or the medcat
version used by some LASD models and the LAPD?
I don't think I'd do anything else other than one of the Patriot systems mounts if I were to, but I can't say I would for sure. If there's enough interest from the community, then I will consider.
As many should know, back in the earlier days of the IV community picking up, I released an older Bearcat model that was never really rivaled in the community. Though, I was never really satisfied with that model and inevitably went on a mission to make a newer model. The newer model I started creating back in the days of GTA-Modding-Chest(some ought to remember this as I created a thread on it) and sadly abandoned the project after the website died. It was a model that IV was meant to see but sadly couldn't. Though, I've started working on that same model and am happy to say that it will be released for V since the game currently lacks a genuine and good quality Bearcat.
Thankfully after all these years, I still have all the saved files and I'm continuing work on that model. The exterior for the most part is finished, its just a matter of the finer details now and the modeling of the interior. Below are some recent screenshots of the model as it currently stands.
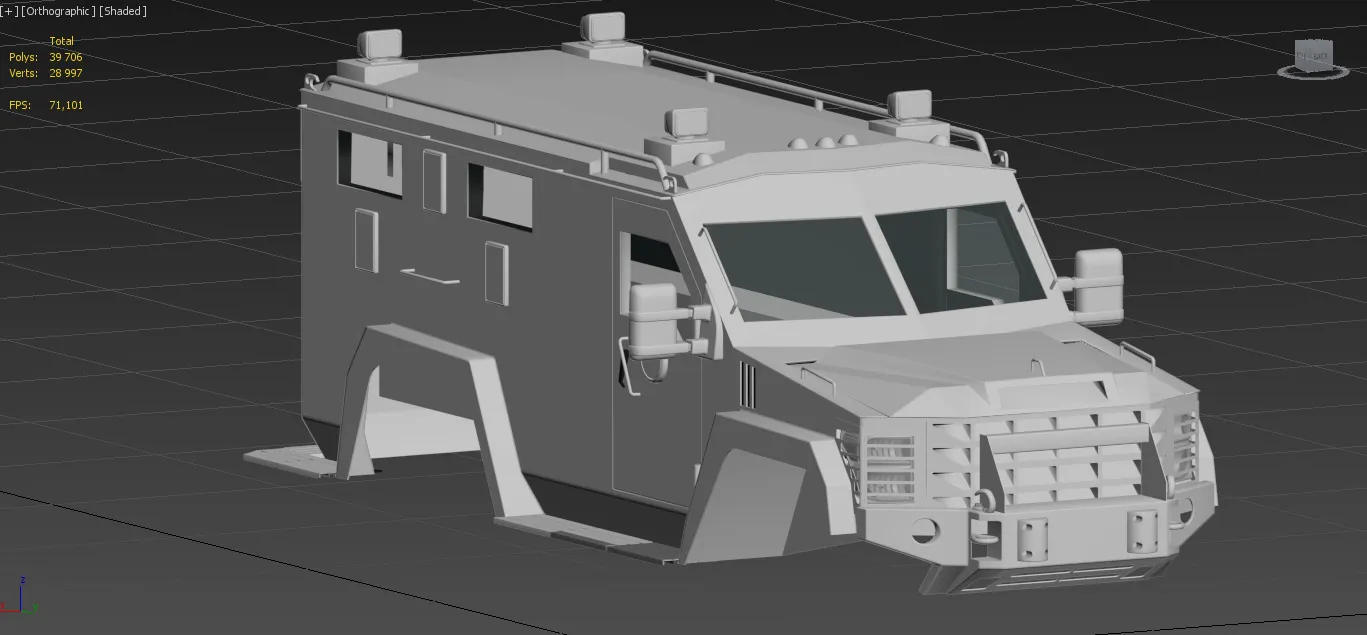

As usual, I will be posting updates as I progress with the model.
Well, the wait is over. The 2013 Los Santos Sheriff's Department Caprice PPV is now released!
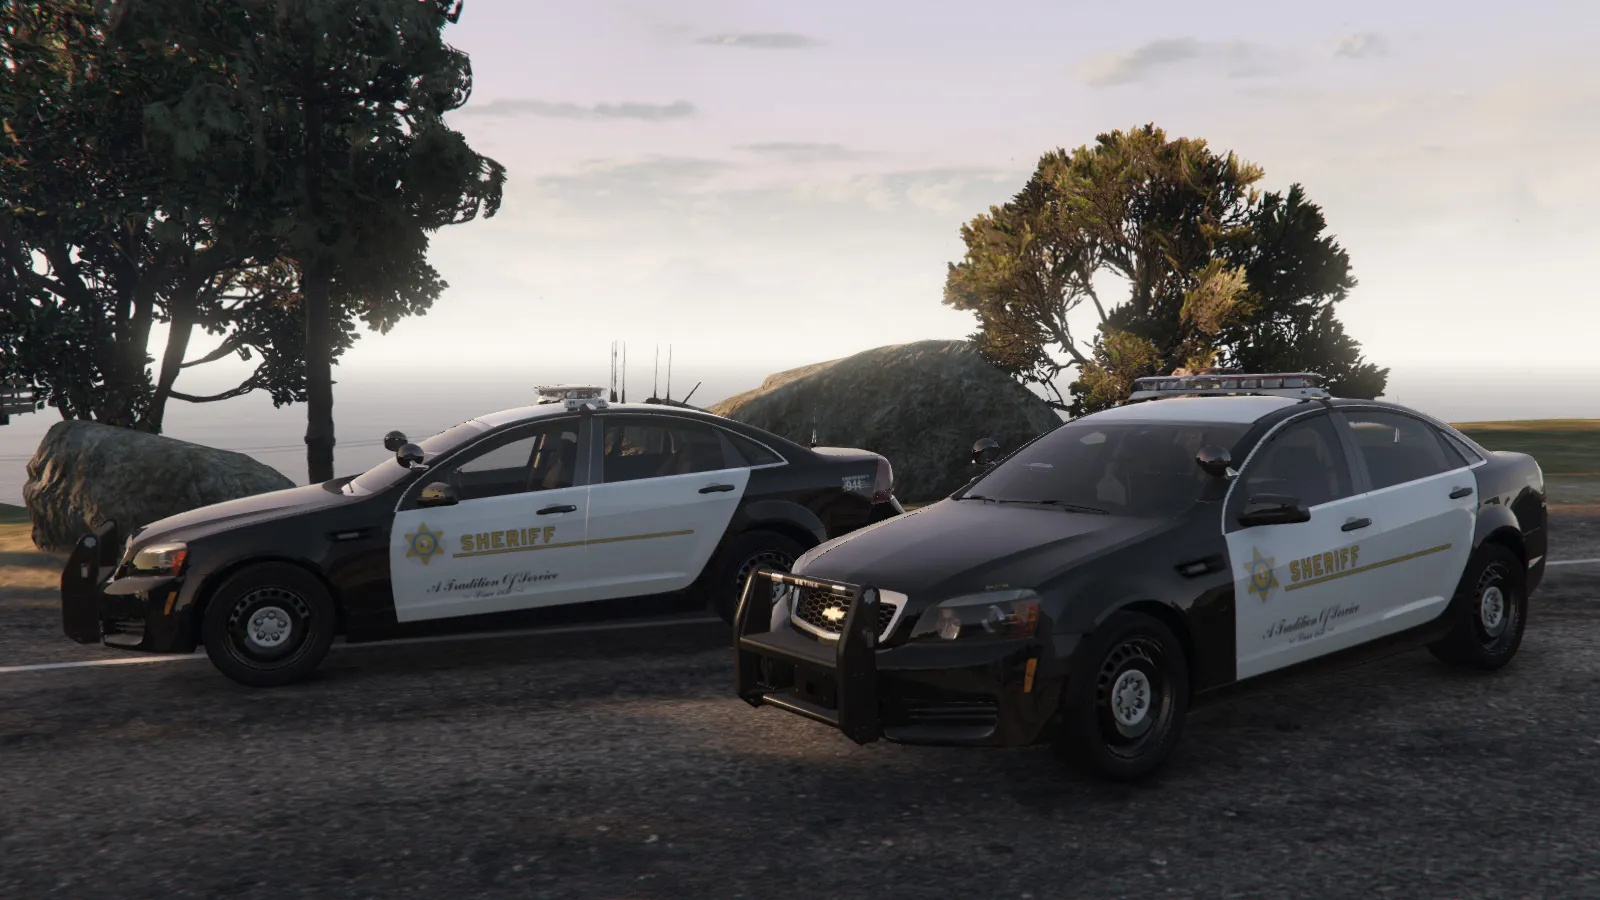

Enjoy. Feel free to report any bugs in this thread. For installation and other issues, please use the support section here.
Alright, so the good news I have is that the Caprice is finished and so to say ready for release. Its currently in a pre-release state being beta tested internally before I release publicly(probably within a few days depending on when the updated scripthook, etc. is released following the latest game patch that was released).
Stay tuned.